Cameras and Sound

Sony
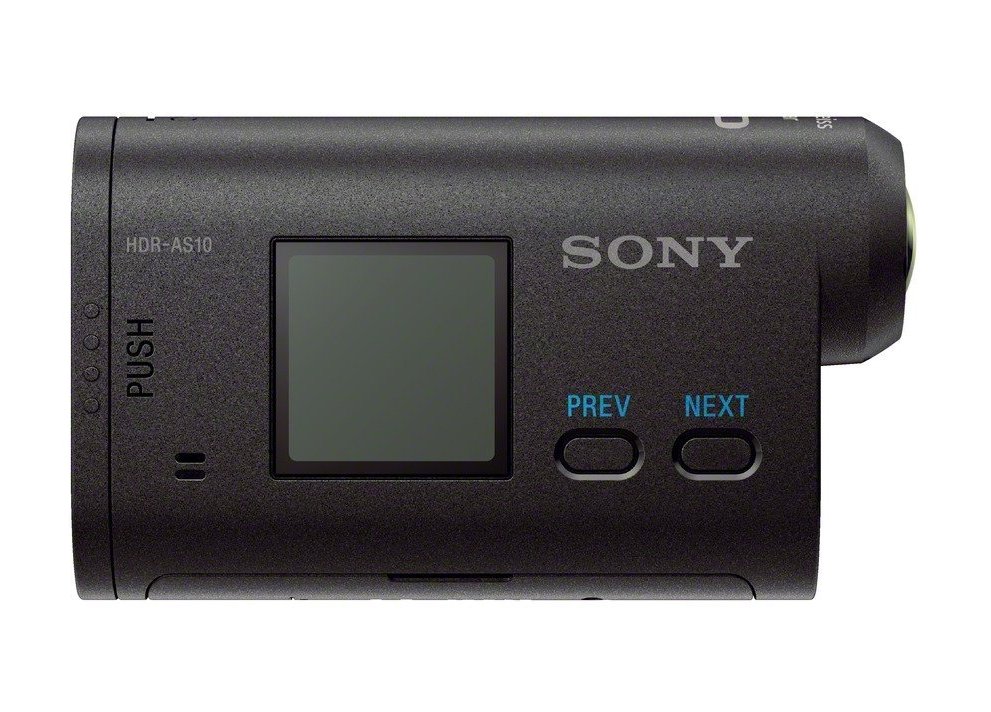
The Sony Action cameras are a great value and are used exclusively for the High Speed (Slow Motion) video recording. It is very reliable and can easily be protected for the rocket motor blast when needed.
Its only draw back is that it cannot be remotely controlled. Although later version did have WiFi control, it is more reliable to have one device control everything. This requires the Sony to be modified to be remotely triggered.
Modifying the camera is not as difficult as it may seem. By adding a small interface board, the camera can be turned on and off by a momentary pulse of voltage from the Launch Controller.
Details
WARNING: THE DISASSEMBLY OF ANY CAMERA HAS GREAT RISKS AND COULD RESULT IN PERMANENTLY DAMAGING THE CAMERA!
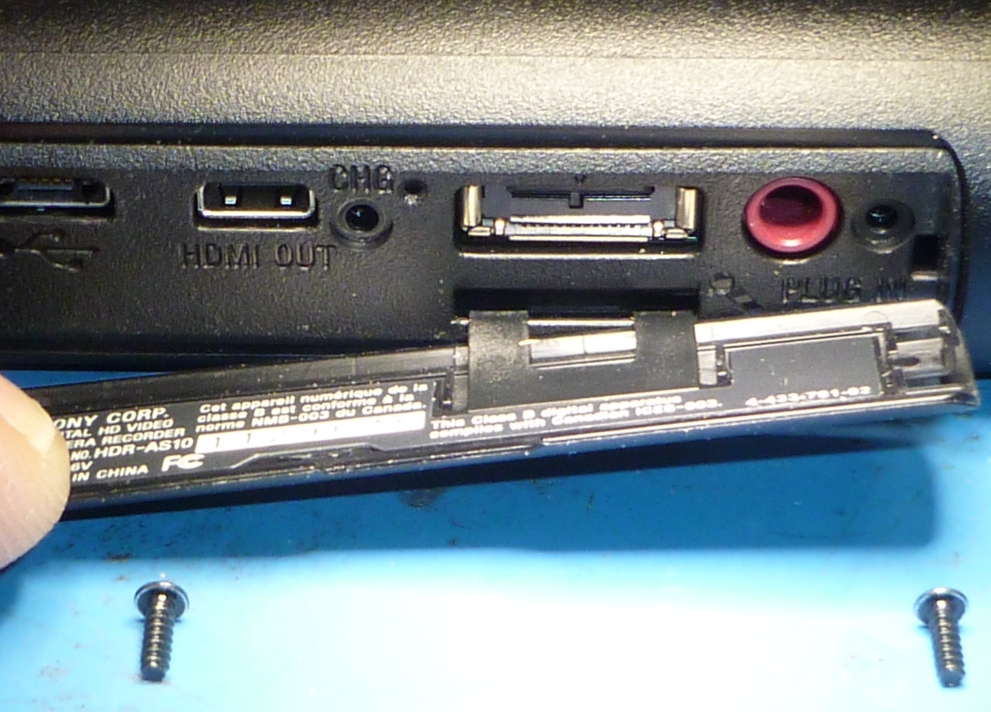
The description described here only applies to the early version of the Sony cameras (AS-10 and AS-15). The AS-100 model has also been modified in this manner but the procedure for disassembly is different. To remove the camera from its case is very easy. The two screws on the bottom must be removed and a small plastic cover is removed from the bottom of the camera. Pulling from the back of the camera (the battery compartment) the camera slides out of the shell.
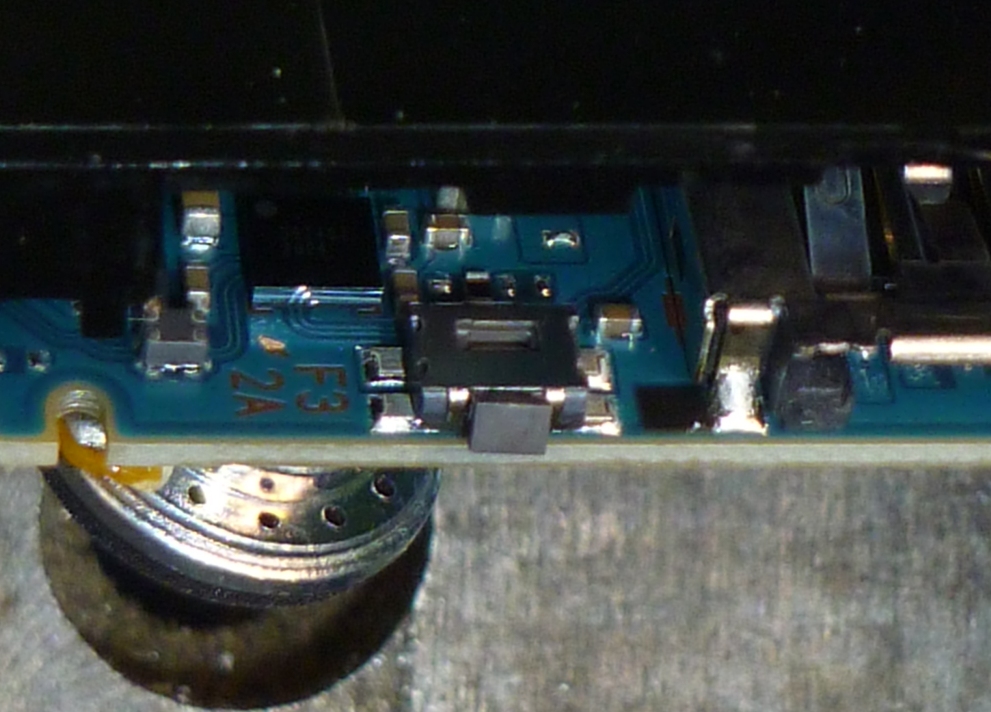
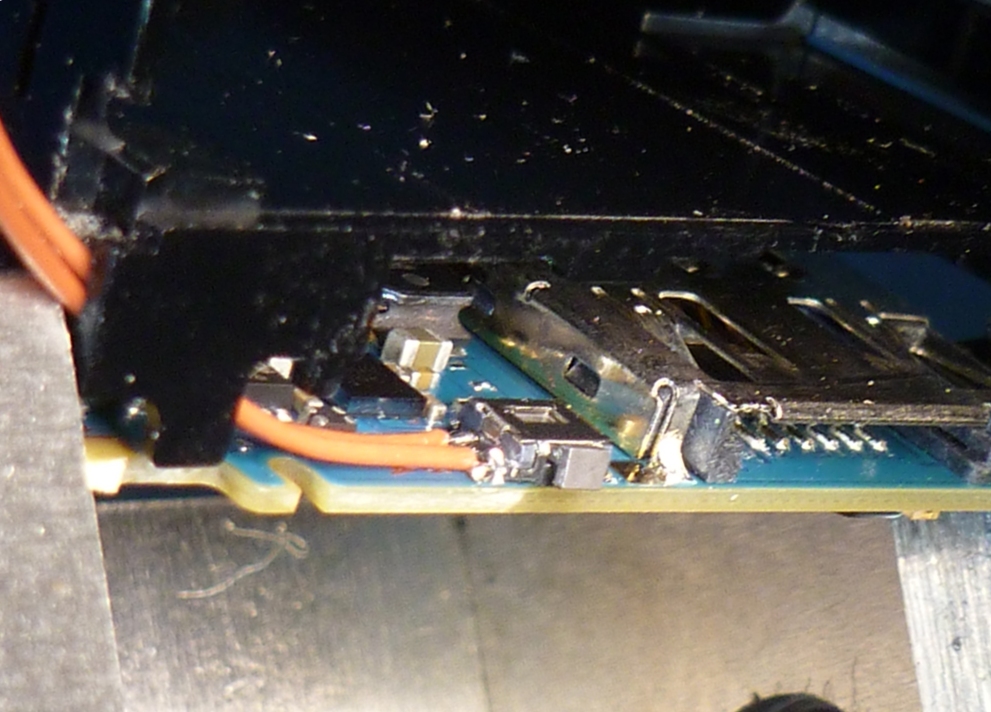
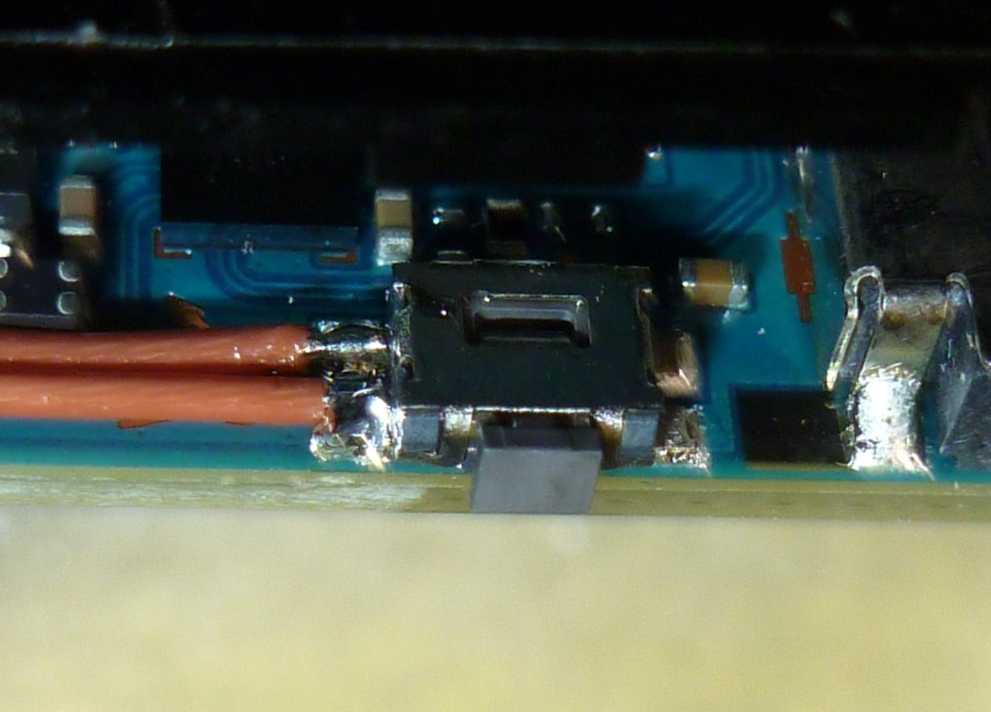
The switch that is needed to access its contacts can be seen next to the battery compartment. However to access this location it is better to remove the display. Remove the two screws flip up the plastic bar on the ribbon cable connector to remove. It is possible to gently separate the circuit board from the plastic housing to gain access to the switch. It helps to hold these pieces apart with tool or held in a vice.
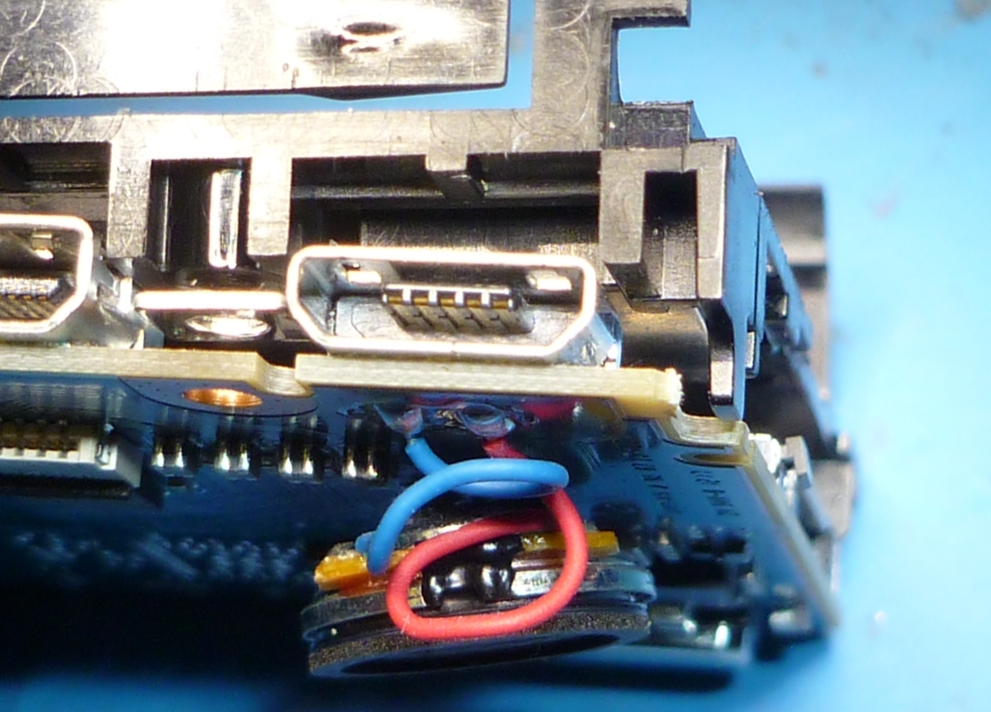
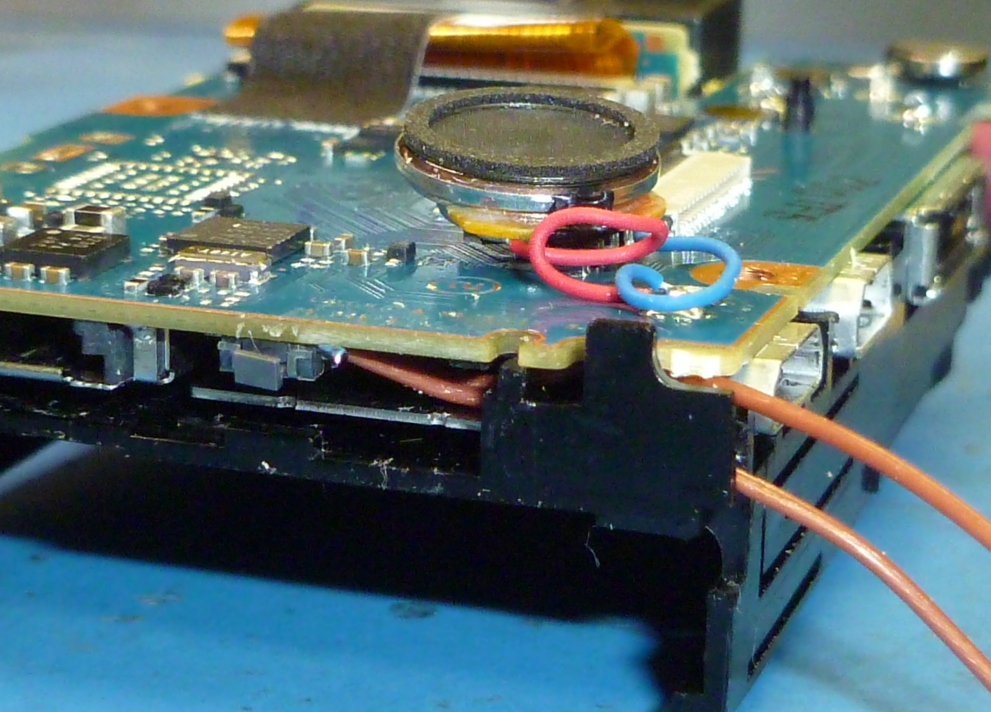
The contacts of the switch are on the sides of the switch and it does take skill to solder very fine wire (30 AWG stranded wire) to them. To allow the wires to get out of the camera, some of the plastic housing must be cut away and a hold drilled in the plastic plate from the bottom. Once the wires are brought out of the camera, the camera can be reassembled. The final step is to create the small interface board and attach the wires to its relay. If the interface board is small enough, it can be attached to the bottom of the camera so that it still fits inside its housing. A hold must be cut in the housing to allow the trigger wires to pass through making it no longer water tight.