Cameras and Sound
Tascam Recorders
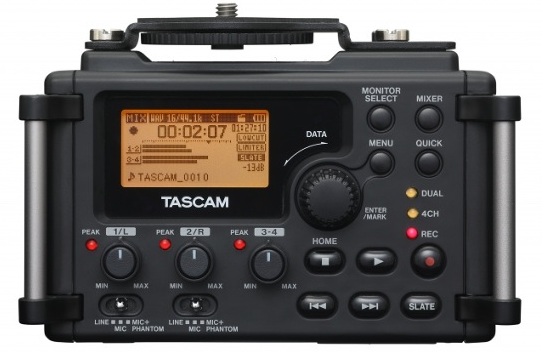
The Tascam DR-60 is used as the primary sound recording. It has a camera output that can be feed directly into the cameras. Since the Sony cameras record in high speed, only the GoPro cameras record sound. External microphones are used with the DR-60. The unit provides phantom power to the shotgun microphones.
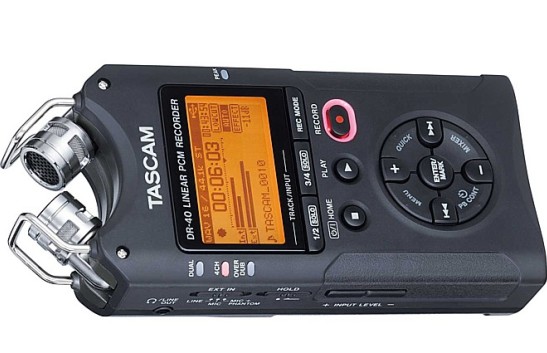
The Tascam DR-40 is nearly identical to the DR-60 except it has built in microphones. It can be used with hand held cameras. Of course very heavy duty wind socks are used with all microphone to drastically reduce the wind noise.
Tascam Remote
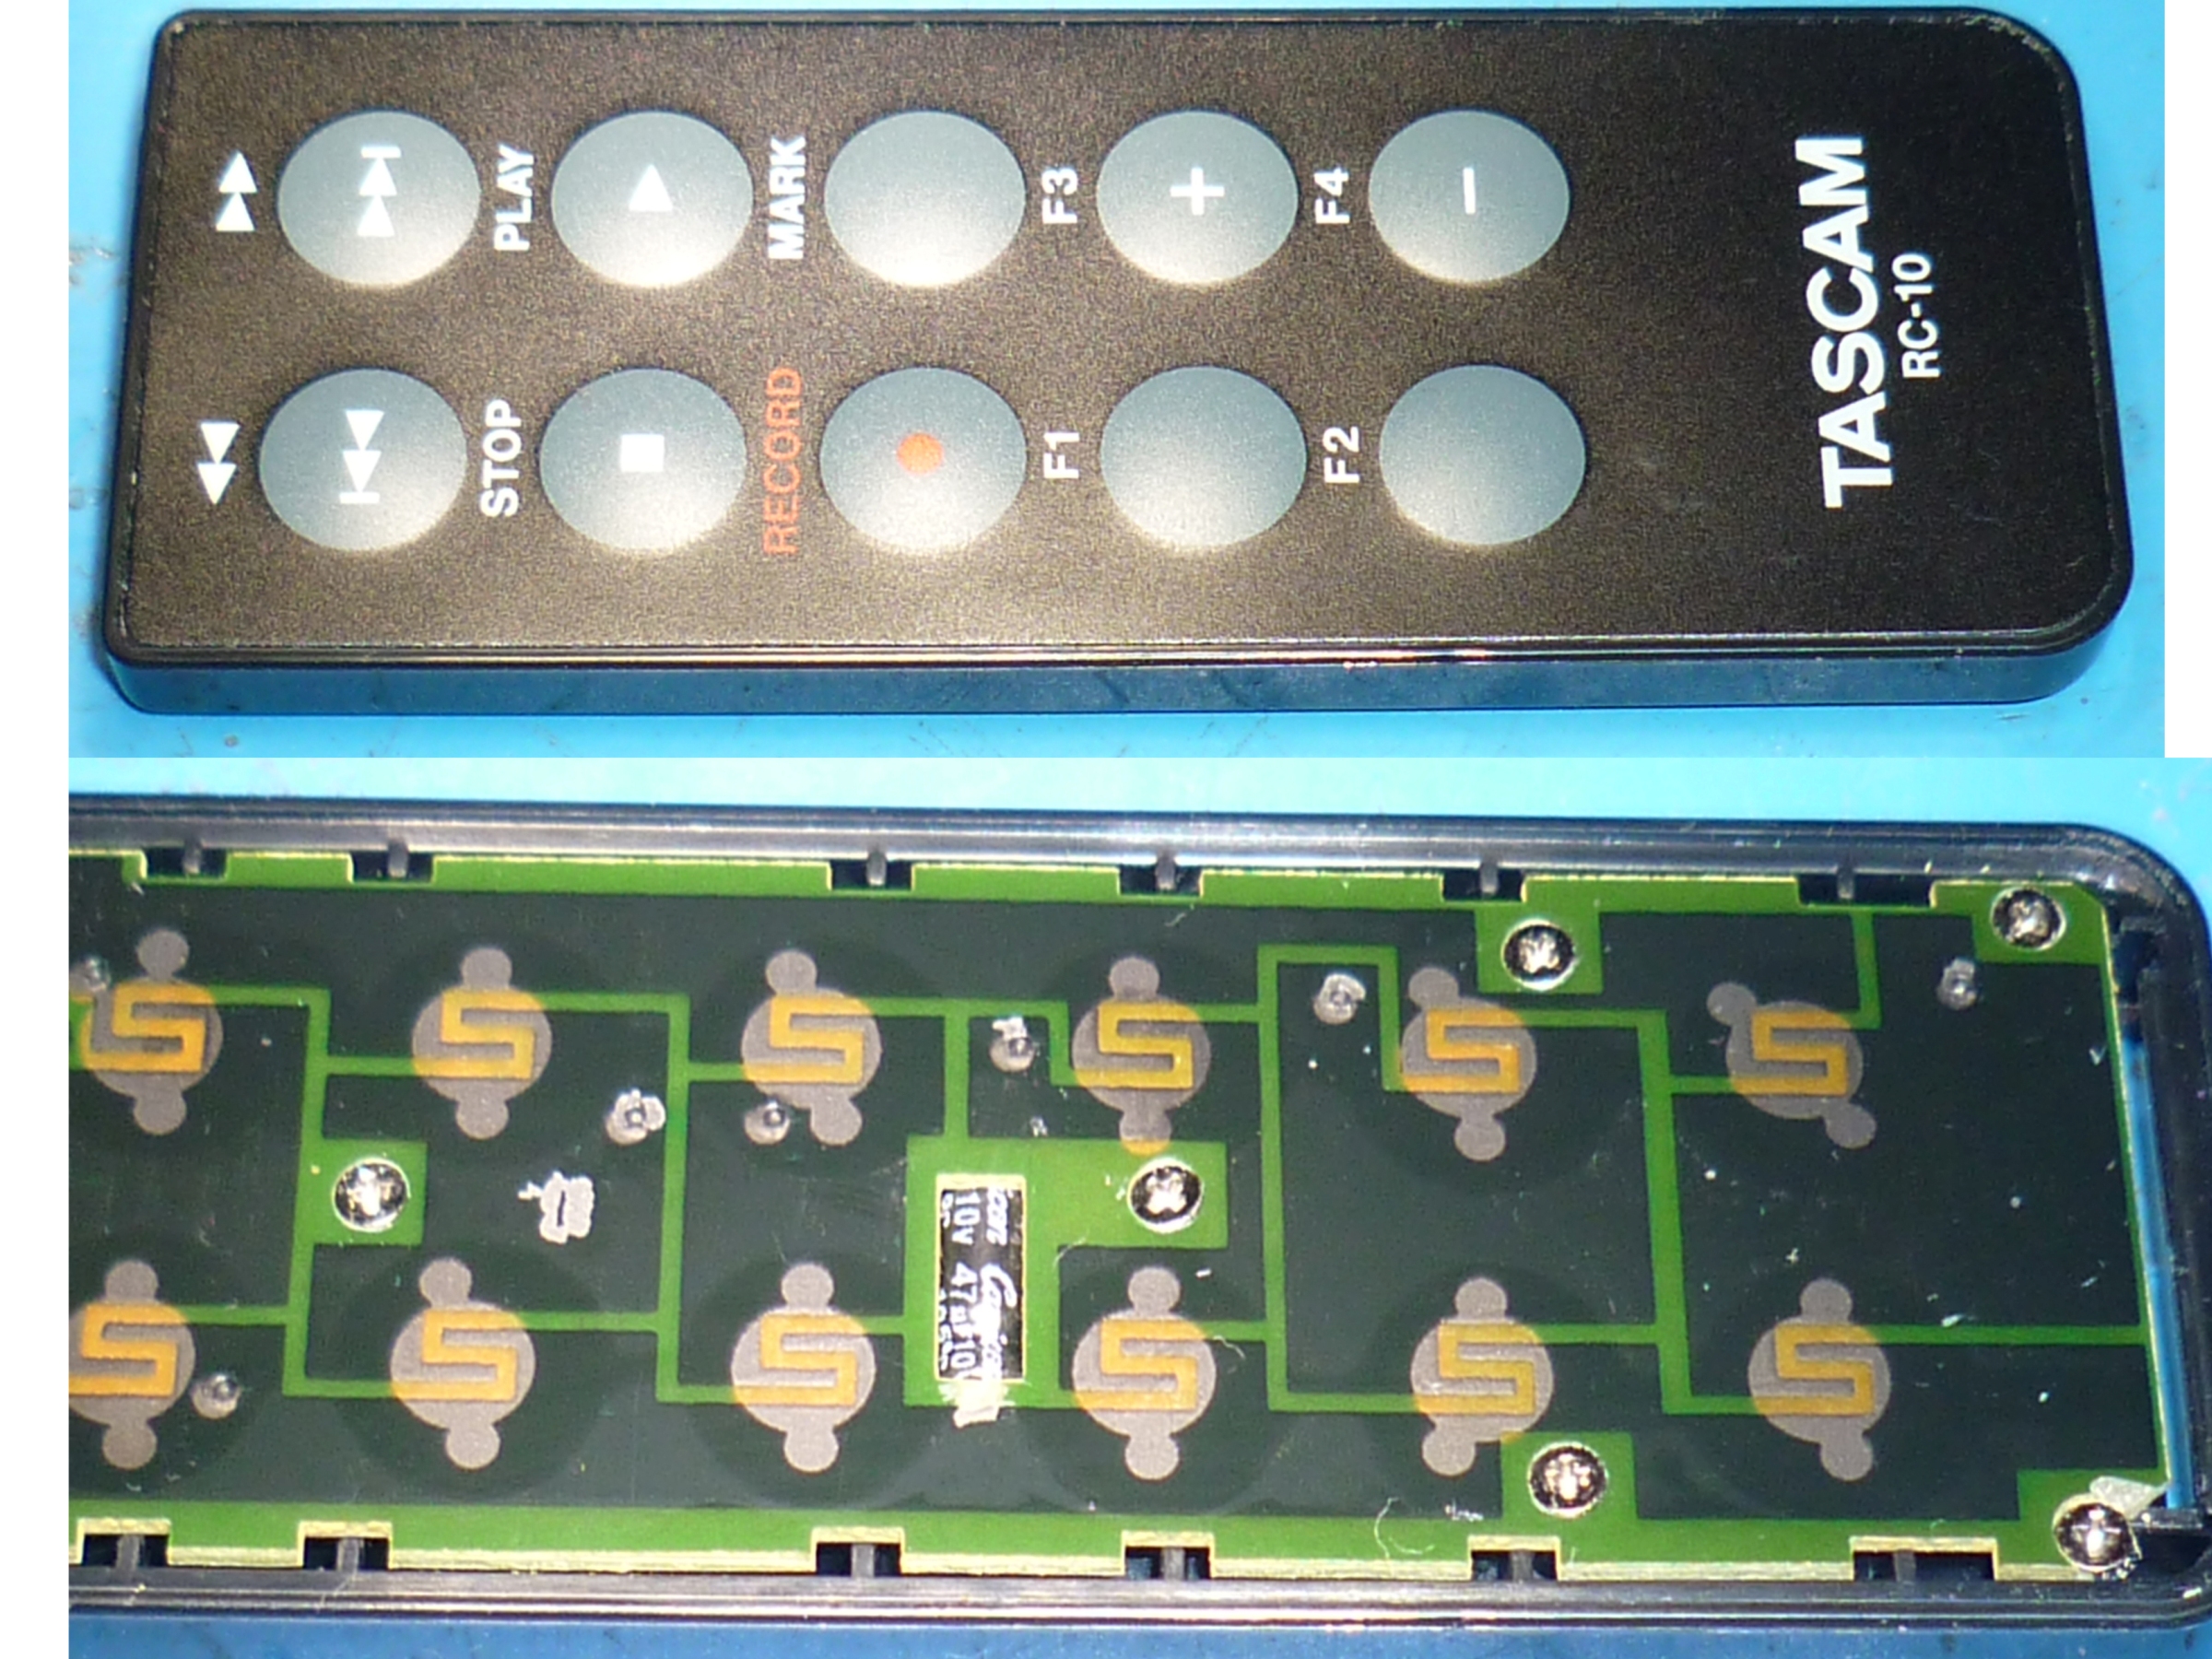
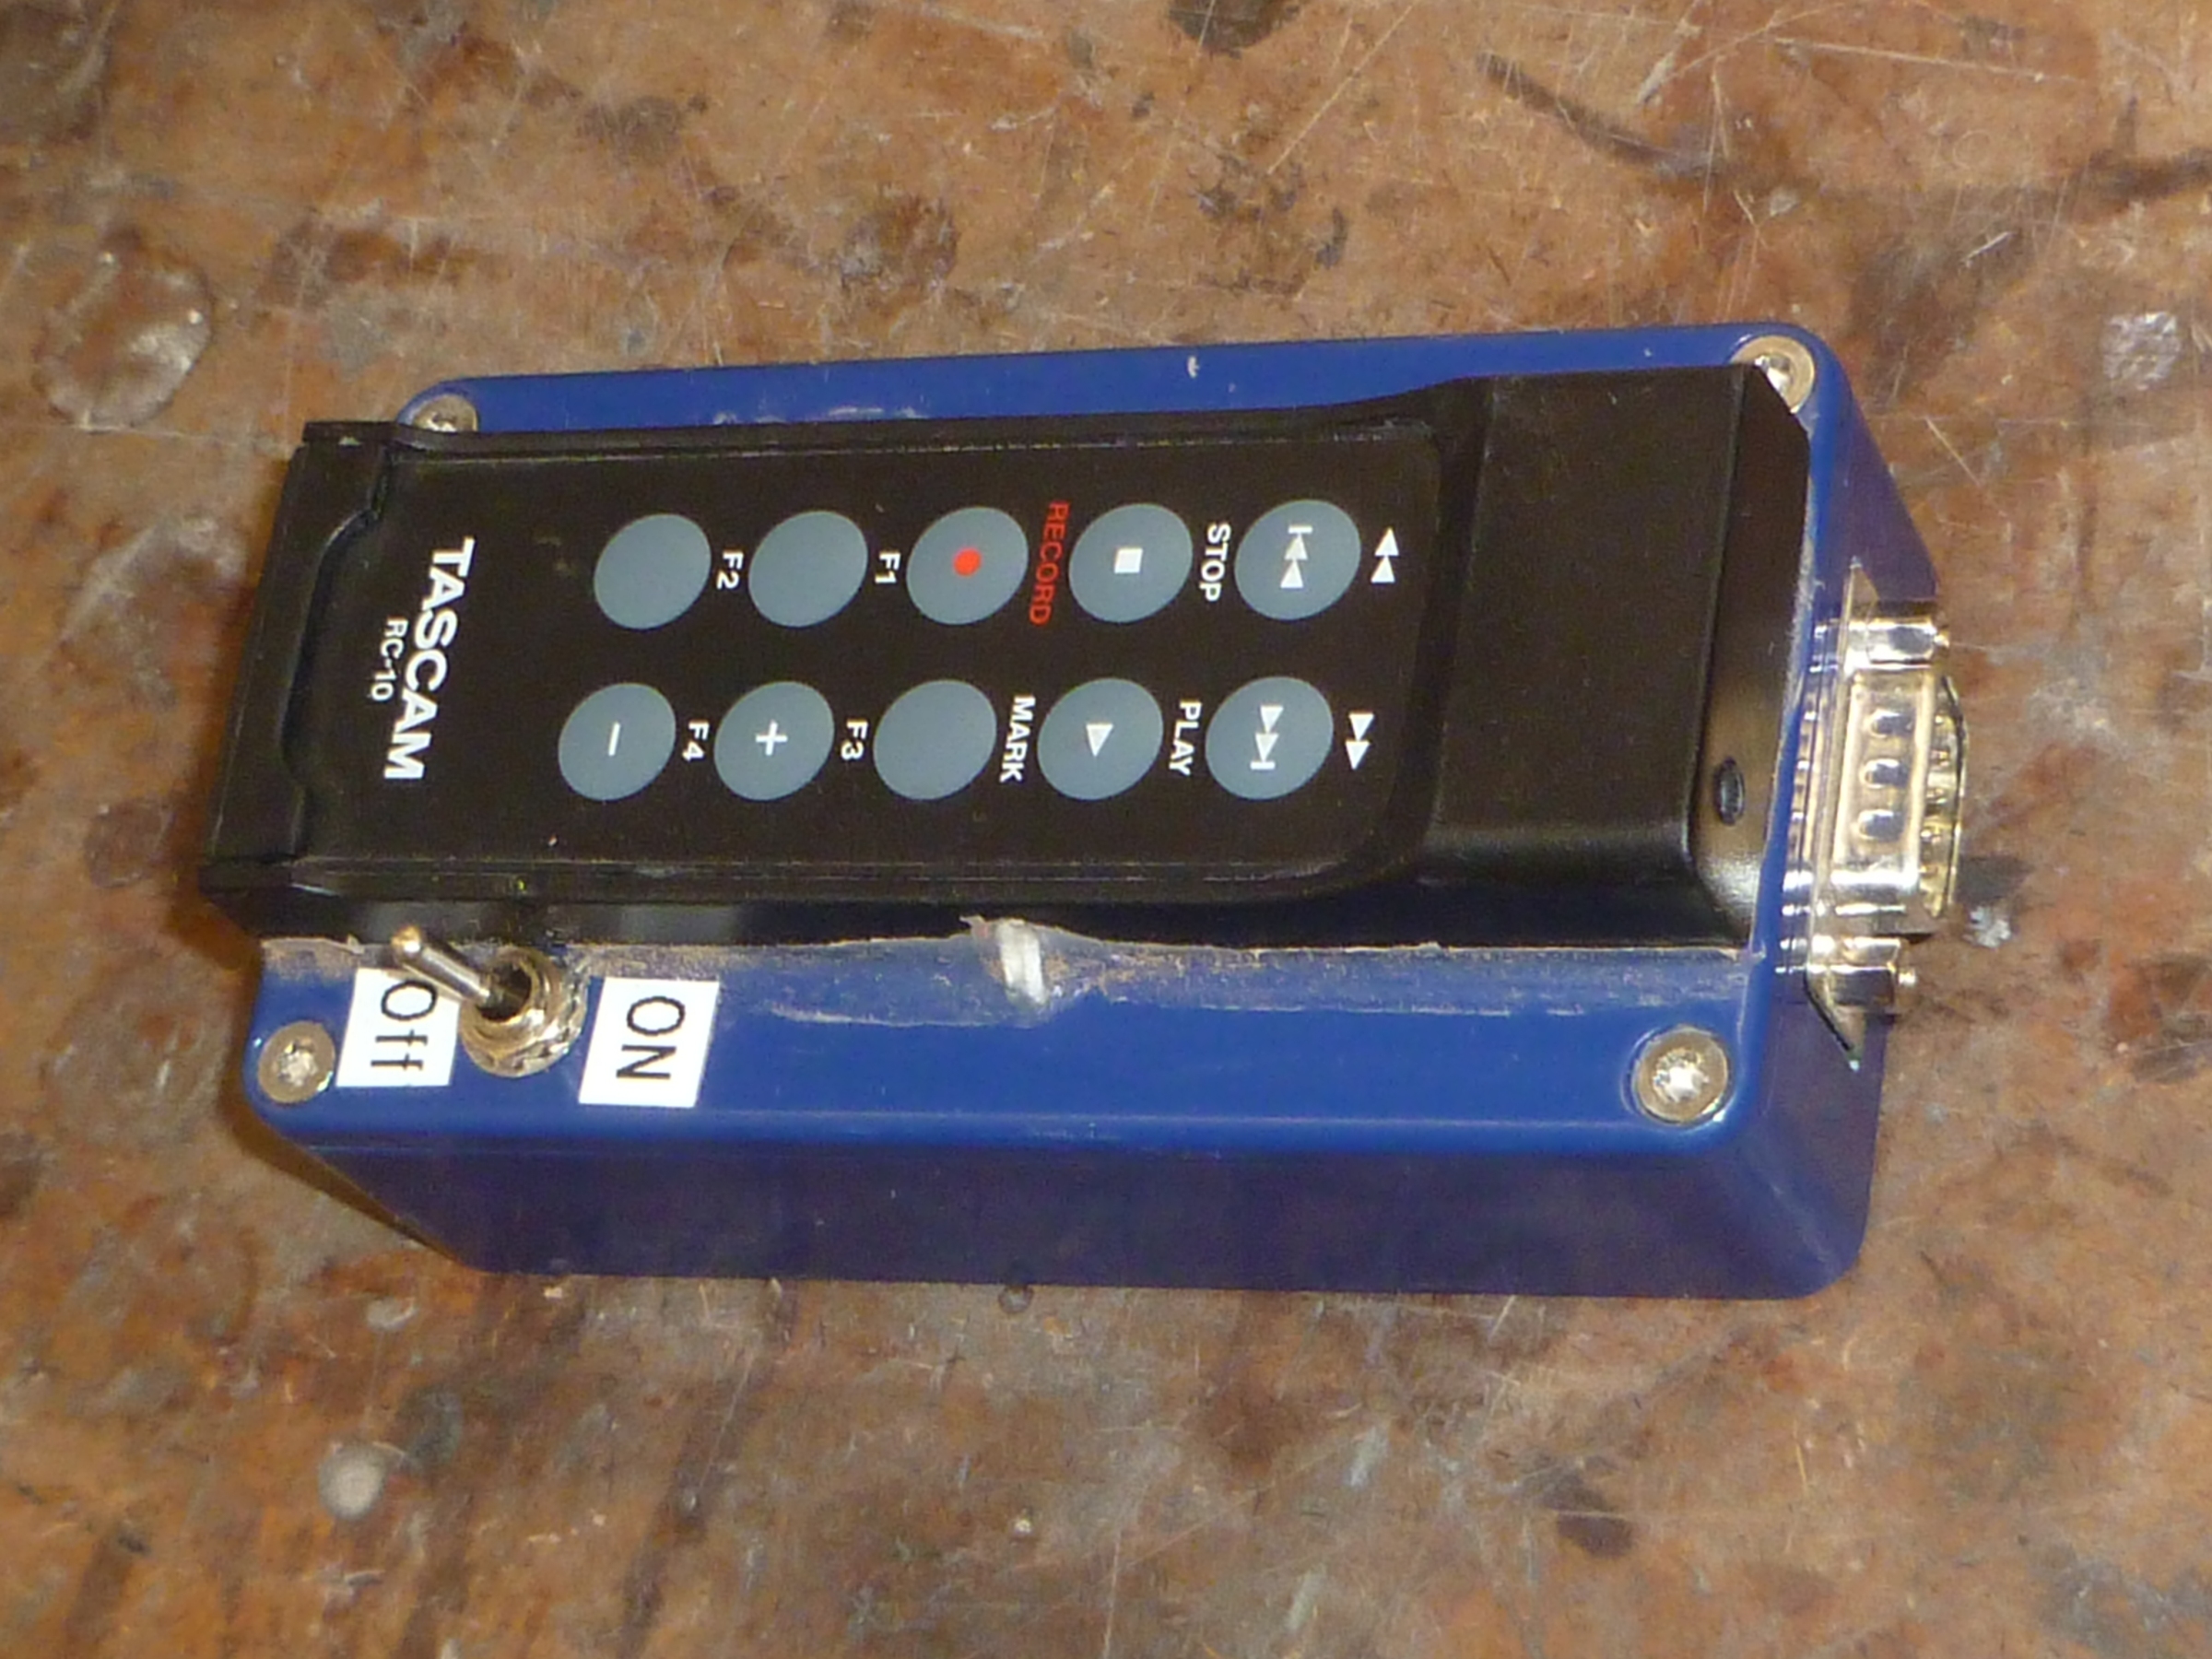
The Tascam RC-10 Remote works for both the DR-40 and the DR-60. The buttons can be hacked which allows the sound recorder to interface with the Launch Controller. Every time the video is turned ON or OFF, the Tascam Remote starts and stops recording.
The contacts for the remote buttons cannot be soldered to directly. But there are vias that pass the contacts to the other side of the circuit board that can be soldered to.
The contacts needed are the ones across the button desired. For the RECORD button, the contacts needed are circled.
Details
Sound recording is accomplished in two ways. Since the built in microphones built into most cameras are poor quality and perhaps located very far from the action, shotgun microphones place at strategic locations are used. The audio signal from the microphones are sent to the Tascam DR-60 where they are recorded. In addition, the DR-60 has the capability to output the audio signal to the cameras. This greatly improved the audio recording at the cameras over their built in microphones.
This method allows the conversations at the launch pad to be recoded on the video cameras located far from the launch pad. If desired the user can synchronize the highest quality audio files recorded in the Tascam with the video files from the cameras.
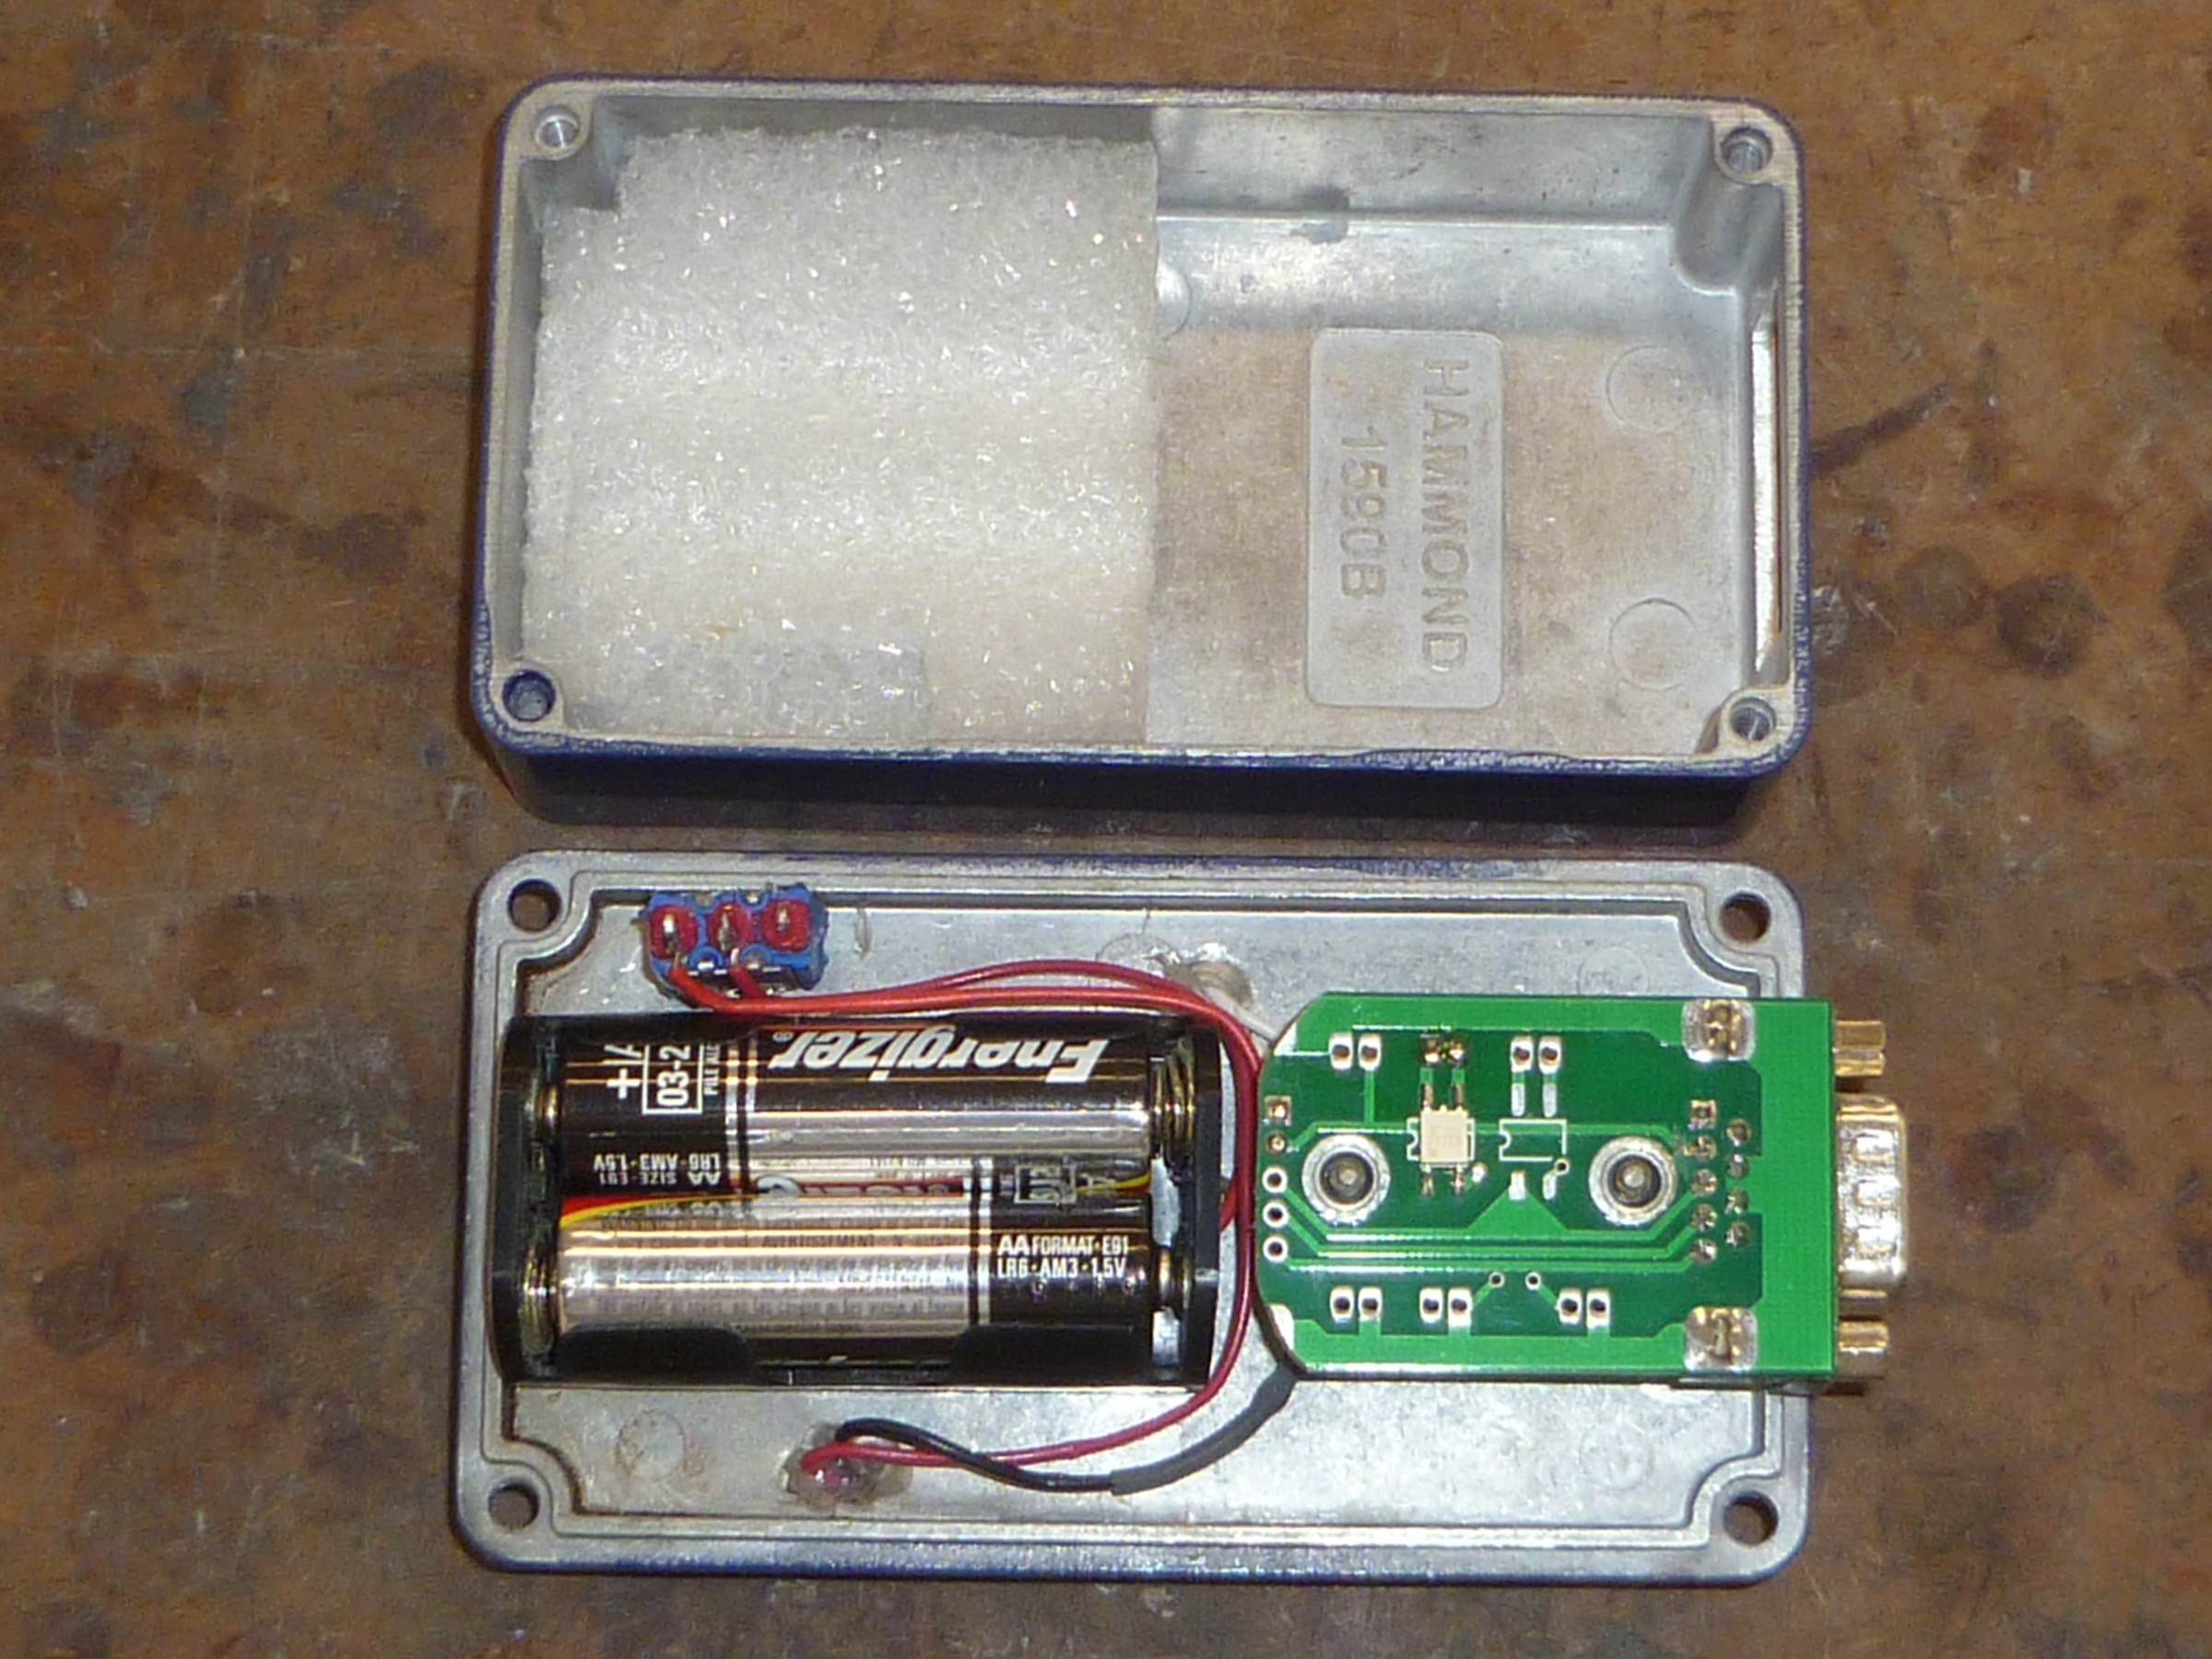
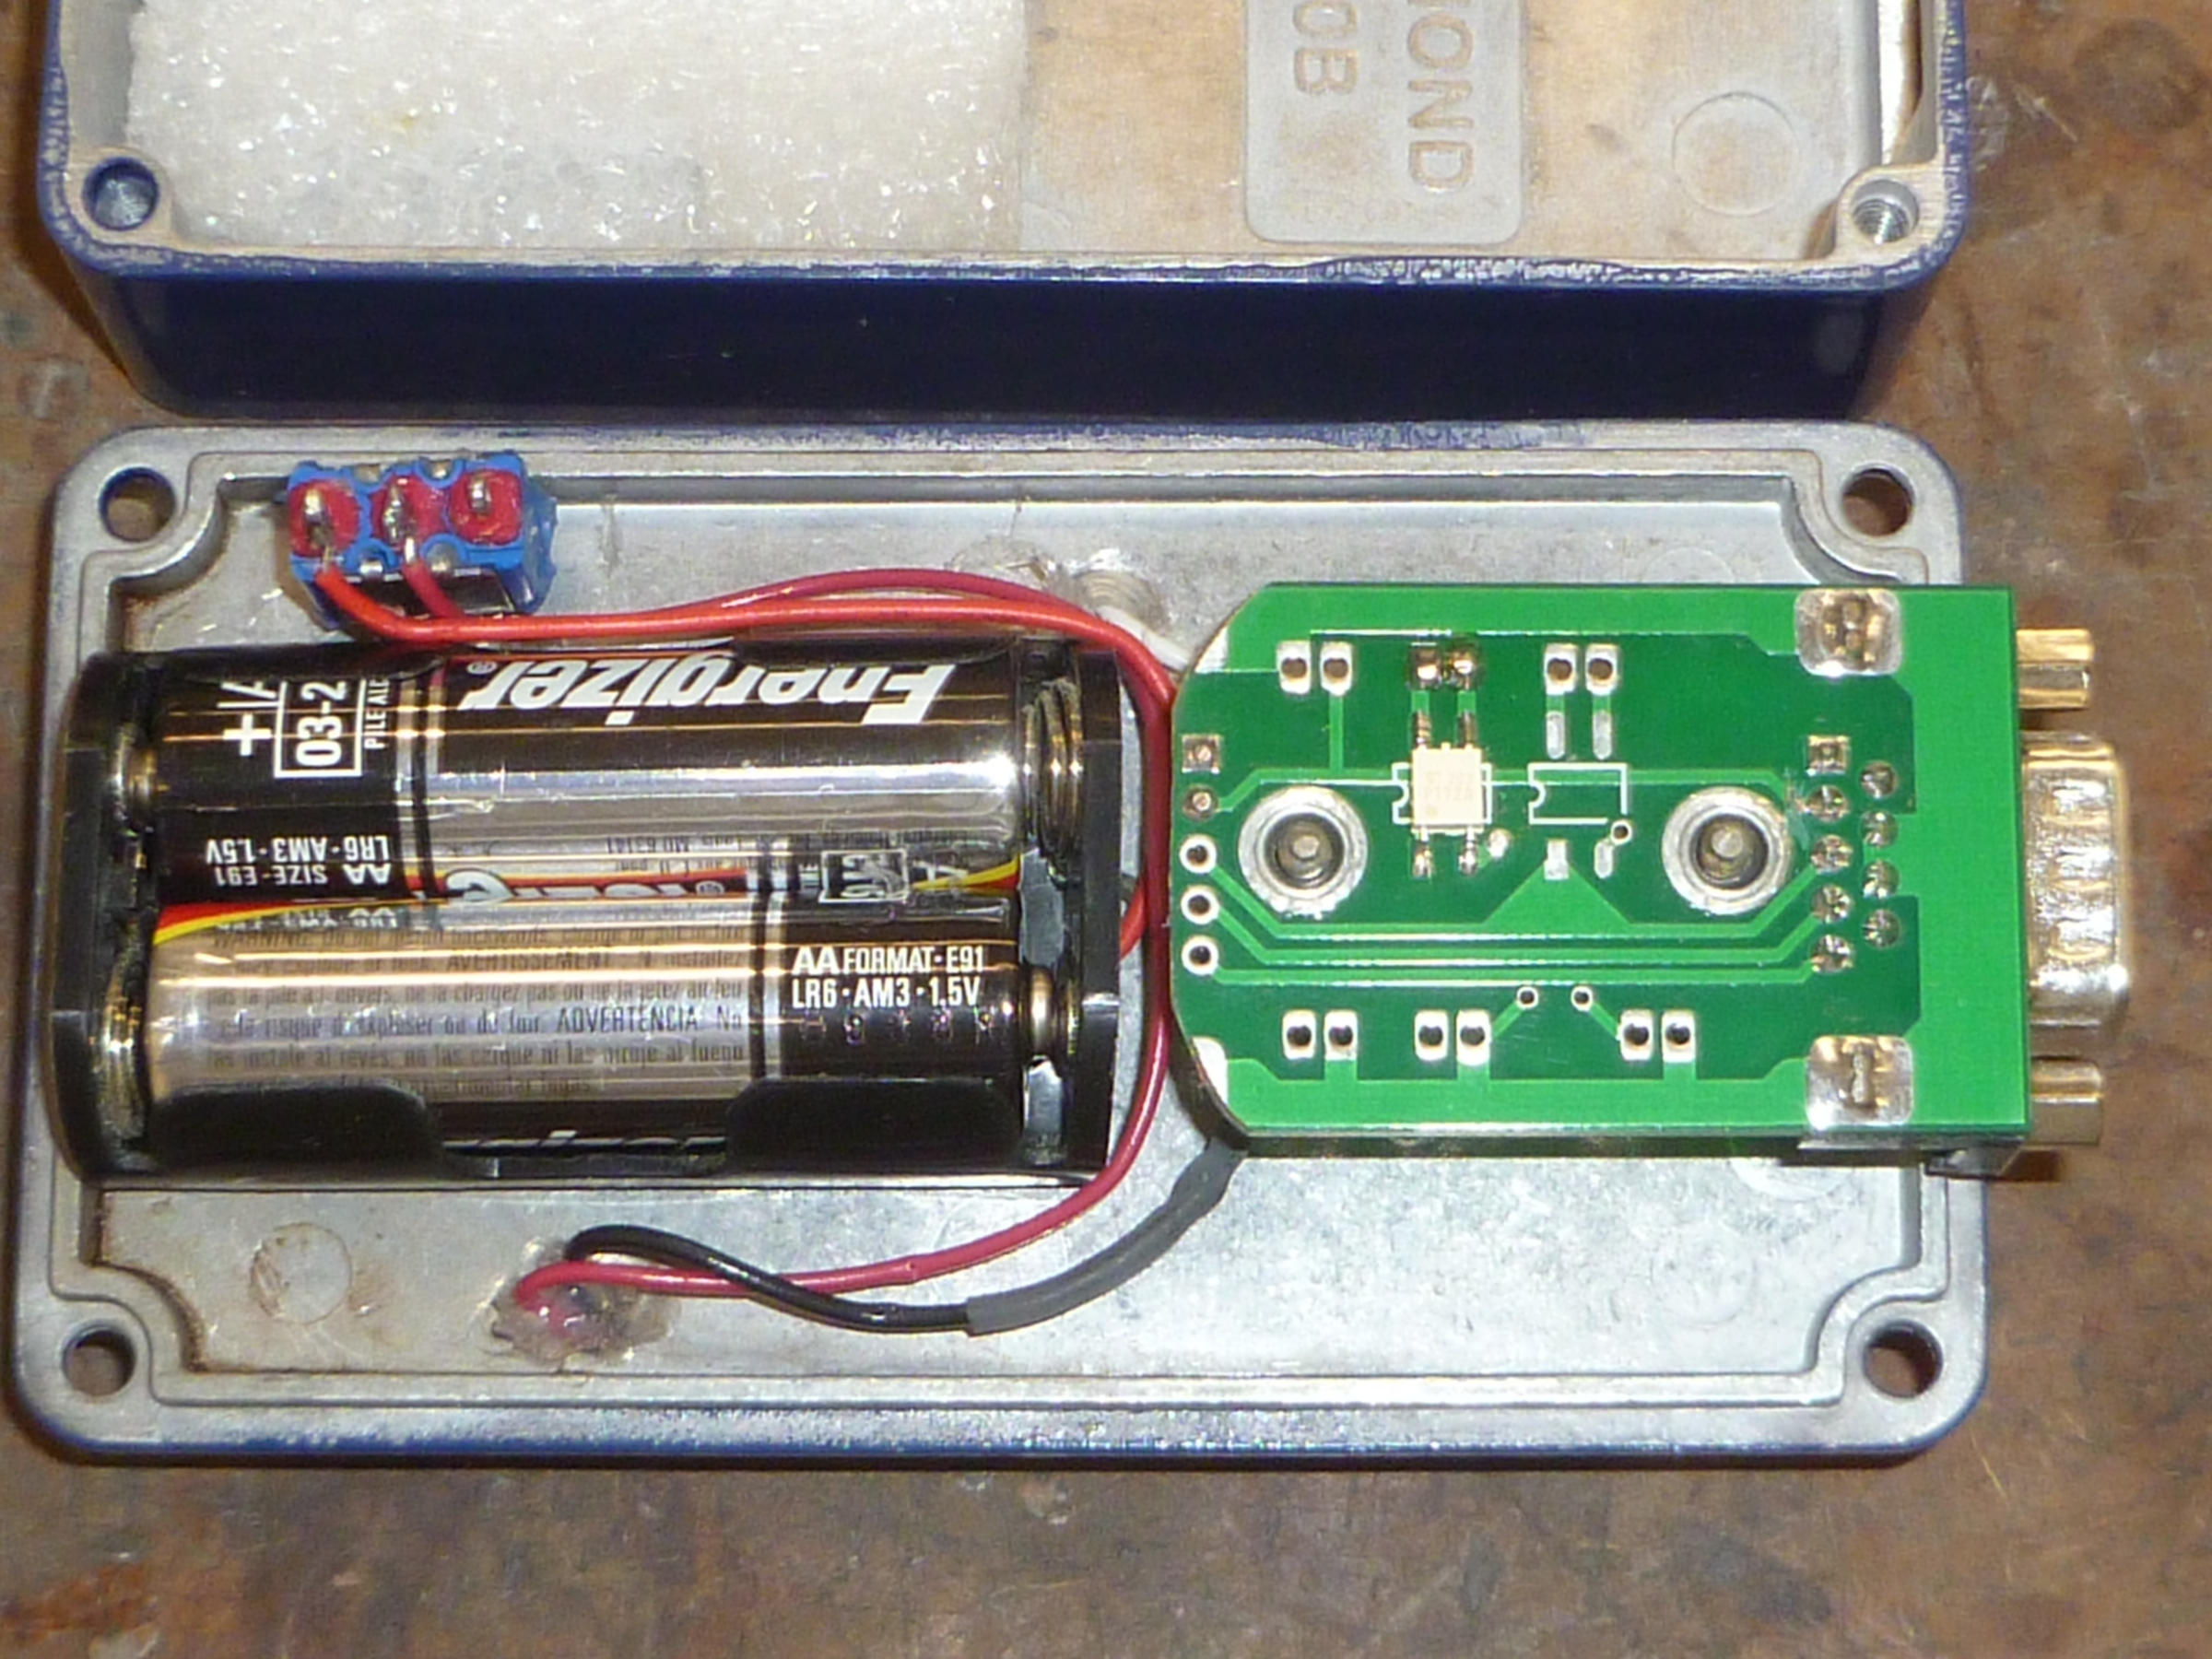
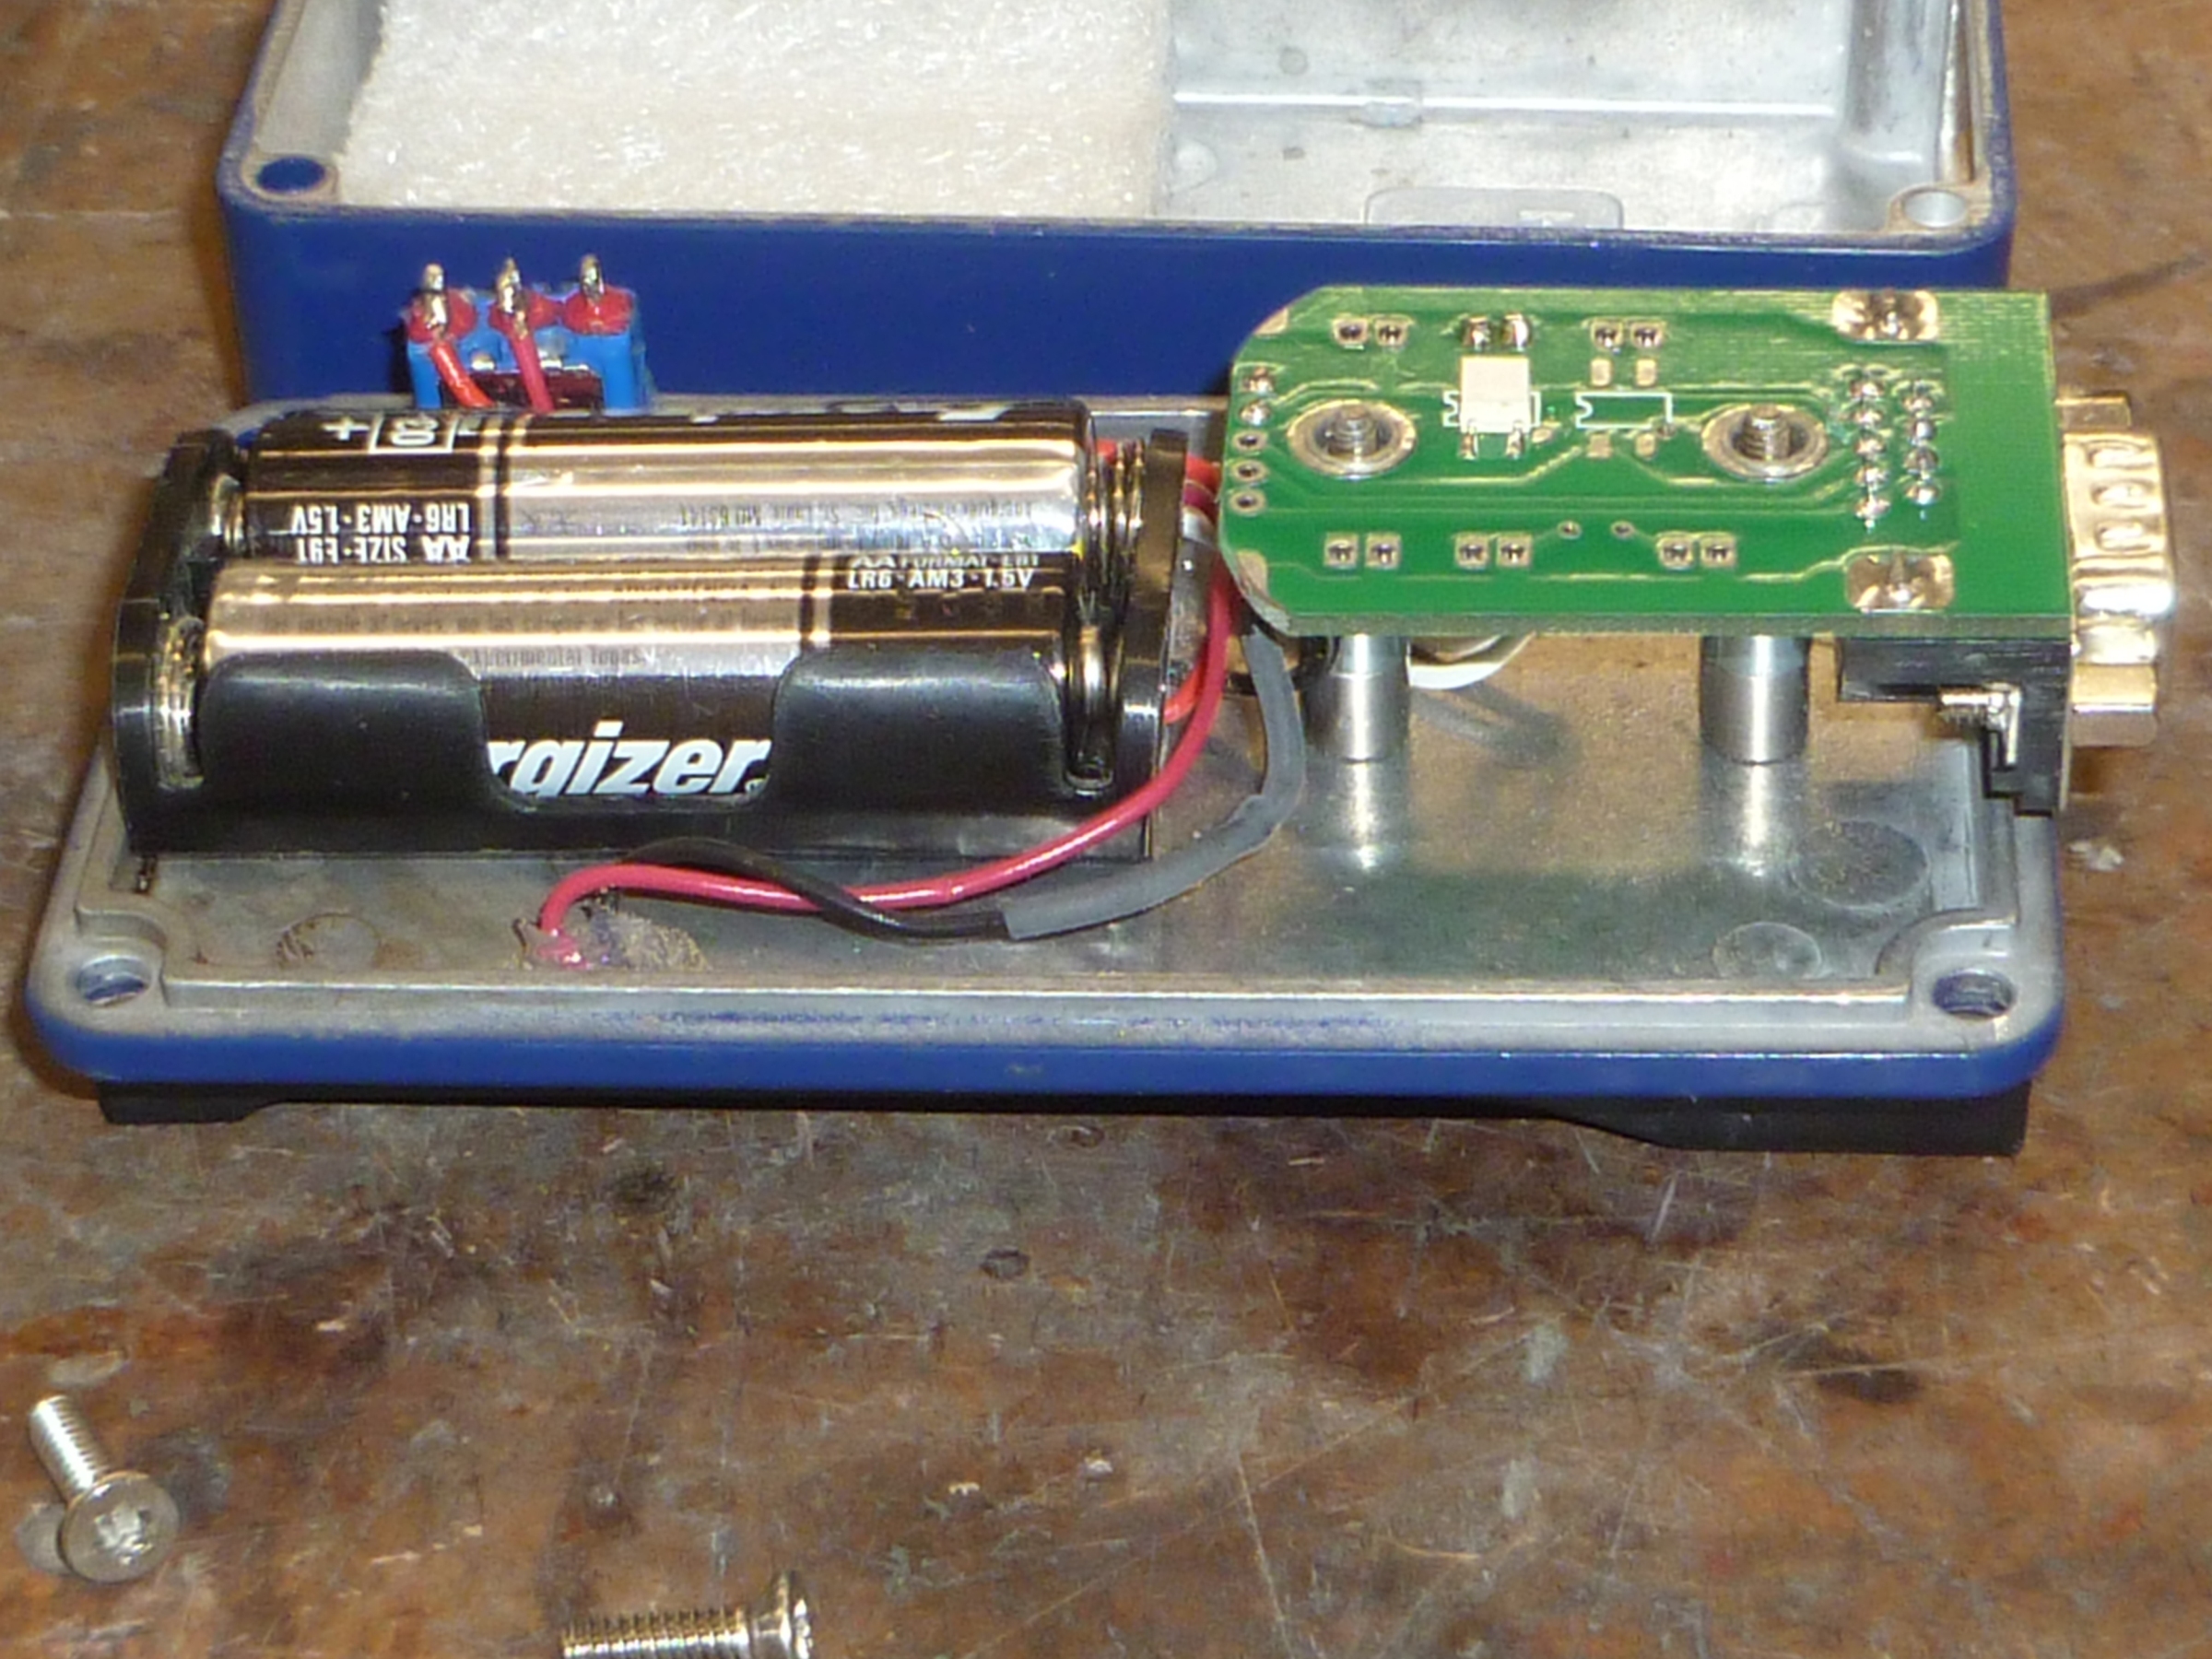
Hacking into the Tascam RC-10 remote is very easy but does permanently alter the remote. To disassemble the remote, start by peeling away the button decal. Start at one corner and gently pull off the button decal like you would remove a label. The exposed circuit board with the contact pads is not the preferred place to solder wires to. By removing the six screws, the circuit board can be removed from the housing.
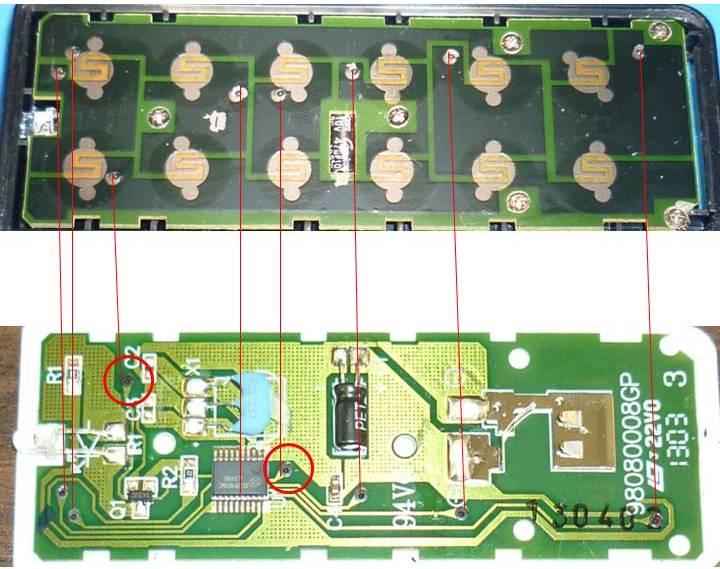
The preferred location for soldering wires to the board is on the bottom of the board (the side with the components on it). The contacts for the RECORD button are circled on the photograph. Since there is no ON/OFF switch the unit is powered all the time the battery is installed. It may be preferred to solder wires onto the power contacts. That way external batteries and a power switch can be used to turn on and off the remote.
The wires attached to the RECORD button are connected to a solid state relay that is triggered by the Video with Override output of the Launch Controller. Every time the video camera are turned on the Tascam will start recording sound. Likewise, every time the video stops recording, the Tascam goes back into Standby. It is important to remember to put the Tascam in Standby prior to trying to record video (see the Tascam owners manual).